Cutwork embroidery is a gorgeous technique that adds elegance to almost any embroidery project. Cutwork is a beautiful medium and embroidering it can seem intimidating, but what if I told you it’s not?

What Are Cutwork Embroidery Designs?
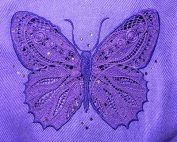
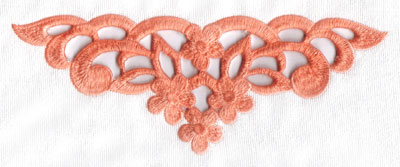
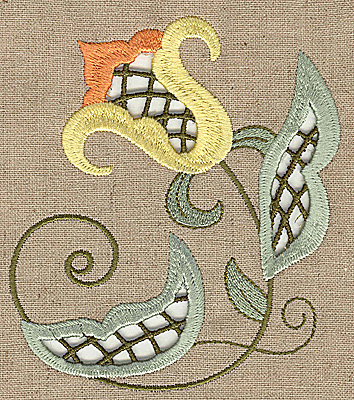
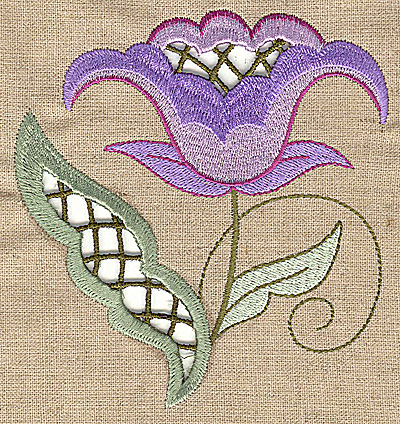
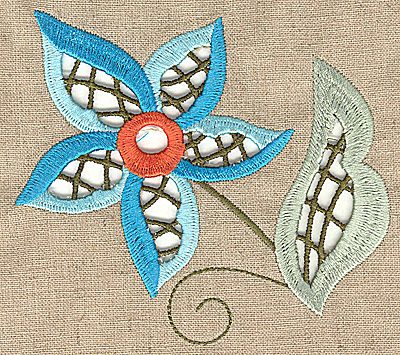
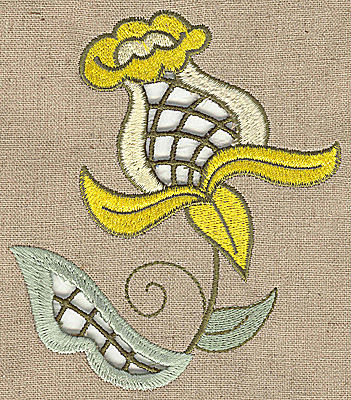
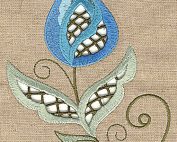
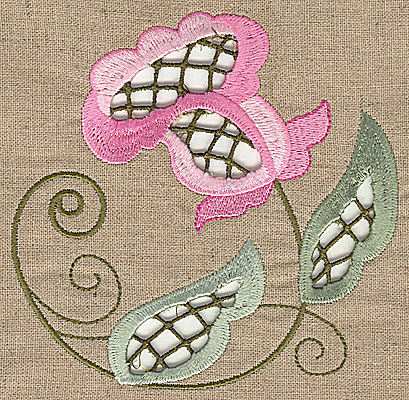
A cutwork embroidery design is where fabric is cut and removed (you have a hole in your fabric) and the raw edges are filled with embroidery.
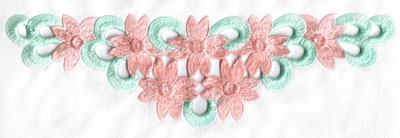
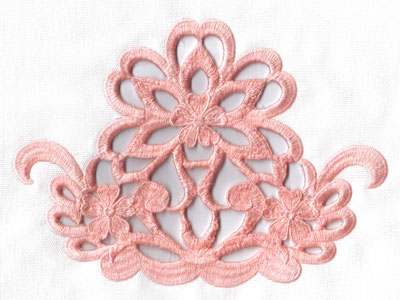
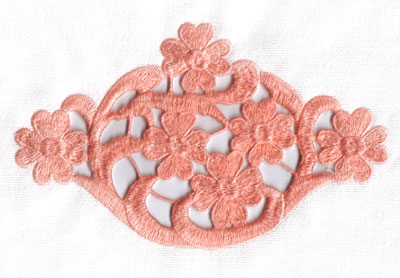
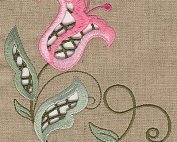
Our Collection of Gorgeous Cutwork Embroidery Designs:
Looking for high-quality machine embroidery designs? Check out our collection of 40+ cutwork embroidery designs.
Cutwork and Organza in Machine Embroidery
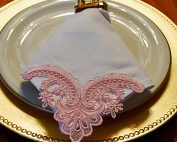
Cutwork that is done for home décor is visually appealing and gives a warm vintage feel. The same design embroidered on a wearable item has the same result. Although sometimes it can produce some problems.
The first issue is that the cutwork might expose the area and become too “revealing”, especially if done on a blouse. Secondly, it would need to be laundered delicately, or the embroidered area could unravel and ruin the item completely.
In these circumstances, we like to use organza in the process to add visual appeal as well as some “structure” for the embroidery.
Organza can spice up any embroidery project & looks great when added to any existing cutwork embroidery design.
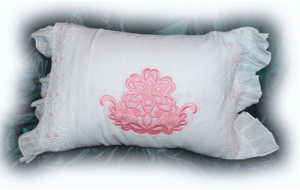
Organza is a fabric traditionally made from silk and is a thin sheer fabric. You can use Organza for everyday or special occasion items, it can be very effective when sewn on items like pillows and blouses (where you would not want open holes showing through).
Want to learn 14 different eye-catching embroidery techniques including cutwork? Check out our Fun Effects Course where we provide you with follow-along video tutorials, amazing embroidery designs, and helpful printable PDfs to help expand your embroidery world!
Required Materials for Cutwork Embroidery:
- Fusible no-show mesh backing
- Water-soluble backing
- Rotary cutter scissors
- Organza (optional if you’re using it with your cutwork design)
How to Stitch a Cutwork Embroidery Design:
Step 1: Iron a piece of No Show Fusible Mesh backing to the back side of the item you will be embroidering.

Step 2: Before hooping, cut a little hole in the center of your material (this serves as an entry point to later cut your material piece out).

Step 3: Hoop the item that you’ll be embroidering, your organza, and the stabilizer together.
Make it an organza sandwich: fabric on top, organza in the middle, water-soluble stabilizer on the bottom.

Step 4: Place and secure the hoop onto your embroidery machine and embroider color number 1. This will stitch a running stitch (the outline stitch) for the cutout area.

Step 5: Take your hoop off the machine. With your scissors, carefully enter through the hole without cutting the organza or stabilizer underneath. Only cut your top material and carefully cut it inside the area where the cutting line has been embroidered.
Take your time and cut as closely as possible without cutting into the stitched line.

Step 6: Place your hoop back into the machine and embroider the 2nd color. This will give you the tack down line. Embroider the rest of your design until completed and remove the hoop from the machine.

Step 7: Remove the completed item from the hoop and turn it over. Cut away the fusible no-show mesh backing and Organza as close as possible to the stitching without cutting into the embroidery.

Step 8: Dissolve the water-soluble stabilizer. You can do this by putting your fabric under the tap, using a q-tip dipped in water, or by using a pressing cloth.
A pressing cloth is used on top of your garment so the iron won’t touch the organza or embroidery and melt it.

Step 9: Let your cutwork embroidery design dry. Voila! You have a gorgeous stitch out.

Conclusion: Cutwork Embroidery Designs with Organza Is A Great Way To Make Your Project Visually Appealing
As you can now see, adding organza within a cutwork design is both effective and easy to do!
Although some may think it’s just like applying an applique, it’s actually very different because the organza has more stability, and the strength of the design increases, as all the stitches of the design hold onto the organza.
Embroidering with this technique gives you the ability to play with different colors, types, and other sheer materials such as tulle. We hope you’ve enjoyed this quick tutorial & have fun creating your first cutwork organza project!
What do you plan to create using cutwork & organza? Let us know in the comments below and be sure to check out our collection or cutwork embroidery designs.
P.S. Don’t forget to learn the secrets, tips & tricks behind the most popular embroidery techniques (including cutwork) and have fun doing it with our new & improved Fun Effects Embroidery Course.



Your web site has superb content. I bookmarked the website
Thanks Ingrid, glad you enjoy it!
I love the lessons on how to digitize, since I am a senior it does take me a bit longer to grasp the idea. 🙂
Thanks for your positive feedback Freda 🙂 happy stitching!