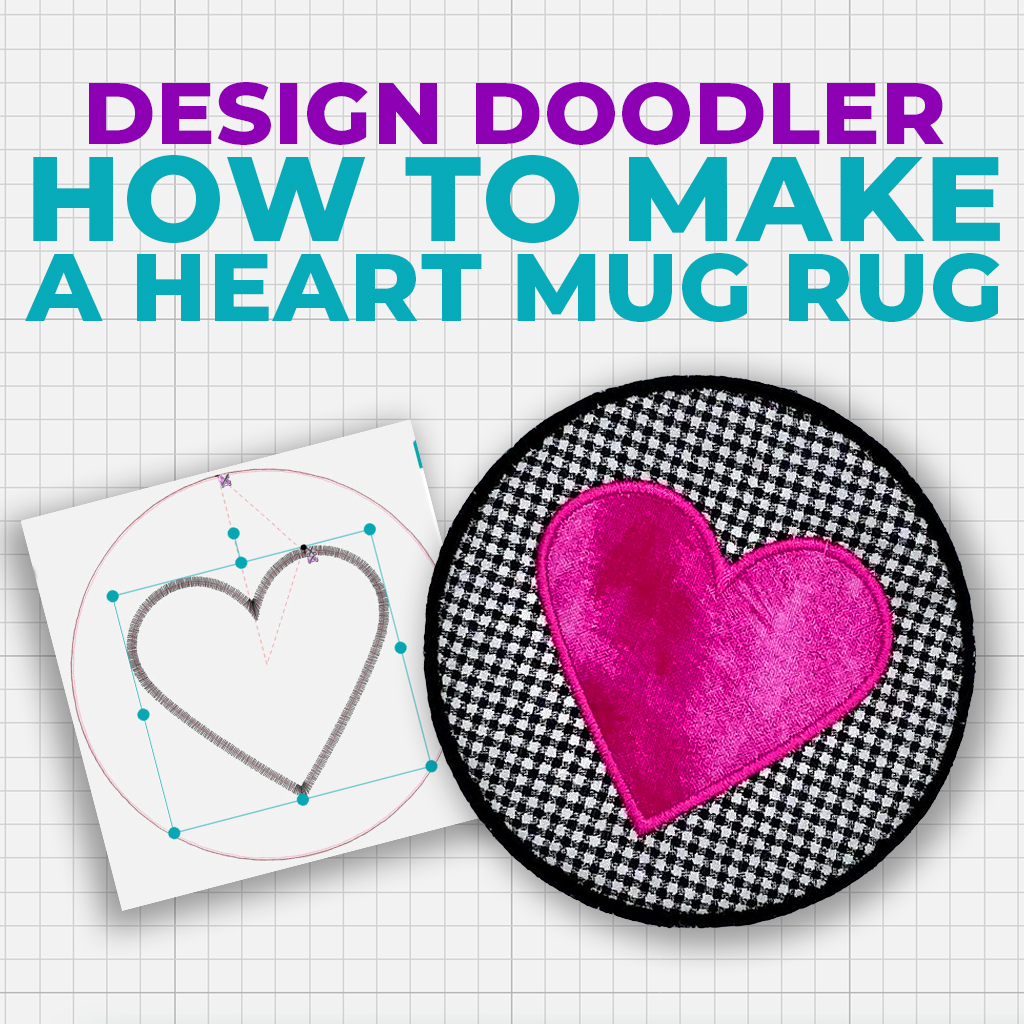
Want to transform your tea or coffee time with a touch of handmade warmth? Easily create your own custom mug rug with the Design Doodler – turn your doodles into stitches!

Easily create your own embroidered mug rug in this tutorial, where the hoop meets the heart!
Are you new to the Design Doodler and want to learn how to turn your doodles into stitches without any digitizing? Try a free demo of the Design Doodler today!
In The Hoop Heart Mug Rug Design Doodler Tutorial

Step 1: Select ‘Applique Brush’ and ‘circle’
Step 2: Drag out a 100mm circle
Step 3: Select the circle
Step 4: Select Properties docker
Step 5: Click the Down Arrow under Applique Type
Step 6: Change to ‘Motif’ and Motif Pattern to ‘Line’

Step 7: Select ‘Applique’ on the widget and ‘heart’ shape
Step 8: Drag the heart in the circle
Step 9: Select it and move to the center of the circle
Step 10: Select the ‘Properties’ docker – change Satin width to 3mm, scroll down, and select – Sew Zig Zag Underlay
Step 11: Select Palettes – left click on Pink – a color option box will appear. Select ‘Color3’. This will change the color of the satin border
NOTE: Color1 is the placement line, Color2 is the tackdown line

Step 13: Select the applique circle
Step 14: Click copy and paste
Step 15: Select ‘Sequence View’ – a copy of the applique circle will be at the bottom of the sequence. Select only this applique!
Step 16: Select the ‘Properties’ docker – change ‘Applique Type’ to ‘Satin’ – change ‘Width’ to 5mm – select ‘Sew Zig Zag Underlay’.
Step 17: Save your design as a .JDX file and then as your machine file format. You are now ready to stitch out your custom mug rug!
Supplies For In The Hoop Heart Mug Rug

- 5” Hoop
- Batting 5”x 5”
- Mug rug fabric 2x 5”x 5”
- Heart fabric 4”x 4”
- Scissors (6” double-curved scissors)
- Tape (masking or painters tape)
- Water-soluble stabilizer
- Bowl with warm water
- Optional: Bobbing color matching circle satin border thread
In The Hoop Heart Mug Rug Tutorial
Step 1: Hoop the stabilizer and stitch the placement line for the batting. Stop the machine.

Step 2: Lay the batting over the top of the placement line and secure it with tape.

Step 3: Stitch the tack down line. Remove the hoop and carefully trim excess batting close to the stitching line.

Step 4: Lay the mug rug fabric over the batting and secure it with tape. Stitch the tack-down line and the placement line for the heart. Stop the machine.

Step 5: Lay the heart fabric and secure it with tape.

Step 6: Stitch the tackdown line. Carefully trim the excess fabric around the edge of the heart. Stitch the satin border around the heart. Stop the machine.

Step 7: Remove and turn over the hoop. Lay the mug rug fabric over the backside of the design and secure it with tape.

Step 8: Stitch the placement and tack down lines around the circle. Stop the machine. Carefully trim the excess fabric around the circle on both the front and back sides.

Step 9: Stitch the satin border around the circle. Remove from the hoop. Carefully trim away excess water-soluble stabilizer around the mug rug. Do not cut the satin stitching.

Step 10: Fill a bowl with warm water. Dip your finger in the water and run it around the satin border to remove the remaining water-soluble stabilizer.

Congratulations, you just doodled and stitched a cute heart applique mug rug!

May your mug rug bring joy and warmth to every sip!
P.S. Don’t forget to join our amazing community of Design Doodler Facebook members for lots of tips, tricks, and some great inspiration in your next doodle!


Leave A Comment