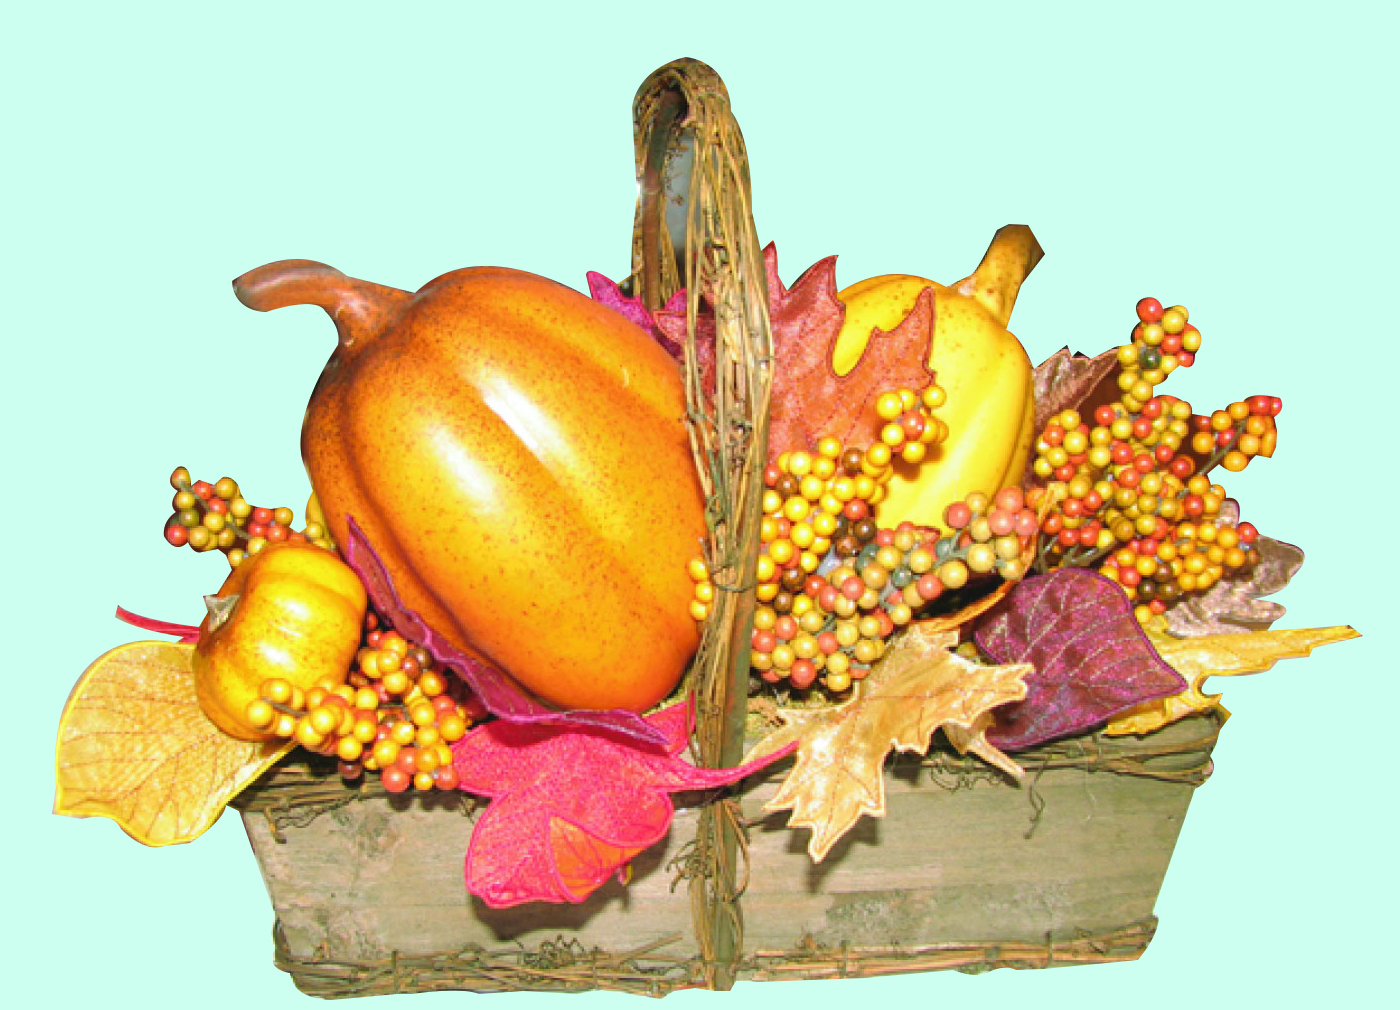
Seasons are changing, and fall is fast approaching. Adding some festive fall décor can help get you into the fall spirit and all the fun things that come with it.
What if I told you I have a budget-friendly way you could add some fall magic into your home?

I mean, who doesn’t love seeing the leaves change and feeling the fresh, crisp air. Although one of the best things about fall is being able to decorate your home, I don’t know anyone that likes the price tag that comes with it.
Festive fall décor AND saving money? Follow our steps outlined in this project tutorial to create your own 3D embroidered leaves.
Expand your embroidery world and have fun doing it with our new & improved Fun Effects Embroidery Course by learning 14 popular techniques, including applique, to skyrocket your creative potential.
Why create this 3D embroidery design?
Going to the store to check out all the different kinds of fall décor can be fun, but once you turn that price tag over, you might not be so happy anymore. As seasonal items are only released occasionally, stores know to use it to their advantage, and it’s a price you’ll have to pay, literally. Why pay the big bucks when you can save money and create and embroider something that will save money in your pocket. You can use materials and fabrics you may already have in your fabric stash, or you can purchase items on sale or in bulk to save what you would be spending.

Not only will these 3D embroidered leaves give your house a sense of fall magic, but they will also give you a fall theme décor without the mess! These 3D leaves look realistic without having to bring the muck from outside. Not only will they create a cozy indoor atmosphere, but they will also remain in perfect condition as you can use them again and again for years to come.
As you create this 3D embroidery tutorial, you can personalize and create new and different leaves. You may want specific colors of fabrics or threads for one craft while needing a different color scheme for something different. These 3D leaves can be used for many other fall-themed inspired décor ideas. They can be for decorative centrepieces, dress up your thanksgiving plates, put on your bags, and give a festive look to your fall wreath. Your options are limitless.

Trying a new embroidery style, especially 3D can seem challenging or even scary for someone who hasn’t practiced this technique yet. But we’re here to give you a step-by-step tutorial to master this practice and even have fun doing it! Once you do it, you’ll wonder why you never tried it in the first place.
Try our free 3D in-the-hoop sunflower project by downloading our Free Embroidery Legacy Design Kit.
Supplies required for this freestanding applique 3D leaf
- Nylon sparkle Organza or Nylon Iridescent Organza
- Water-soluble backing (dissolve-away / wash-away)
- For best results, we recommend that you pre-wind your bobbin to match the bottom Organza color
- Soldering Iron
- Hairdryer – optional
- Oak leaf embroidery design from Embroidery Legacy
- Maple leaf embroidery design from Embroidery Legacy
Interested in different leaves, flowers, or butterflies? Check out our other
3D in-the-hoop nature-inspired embroidery designs.
Leaf 3D embroidery tutorial:
Step 1:
- Lay down your organza fabric.
- On top of your organza, place a piece of water-soluble backing (dissolve-away/wash-away).
- On top of the wash-away place another piece of Organza fabric.
You can use the same color Organza for both pieces or for a more creative effect, place a darker color piece of Organza for the top layer and a lighter color on the bottom or vice versa.

Step 2:
- Hoop all three pieces together

Step 3:
- Embroider your leaves and remove from the machine


Step 4:
- You can be even more creative with your fall leaves by cutting up small bits of leftover Organza.
- These should be a little darker or different colors than those you are using on the top and bottom.

Step 5:
- Place one piece of organza fabric on the bottom. On top of this place a piece of water-soluble backing (dissolve away/wash away).
- On top of the wash-away sprinkle your small bits of Organza (within the embroidery area).
- On top of this place your second piece of Organza and hoop.


Step 6:
- Embroider your fall leaf.

Step 7:
- Remove from the hoop and cut your fall leaf as closely as possible to the embroidered border without cutting into the stitching.

Step 8:
- Once your leaves have been cut out, take your hot soldering iron and gently trace the outside edge of the border without cutting into the stitching

Step 9:
- Hold your leaf under warm gentle running tap water until the wash-away fabric in the center is dissolved

Step 10:
- Lay your leaves on a flat surface to dry naturally, or you can use a blow dryer to hasten the process.

Step 11:
- Once the leaves have dried, you may find that they are laying too flat. Take a small spray bottle filled with water and lightly mist your leaf. You will then be able to shape it however suits you.

Step 12:
- Voila! Your fall leaves are complete and ready to use.

Conclusion: create this 3D embroidery design
When you want to give your home a cozy fall theme, stop spending more than you need. With inexpensive tools lying around your craft room, you can create these budget-friendly 3D embroidered leaves to perfectly accent your fall-themed décor. There are no limits to what you can create with these perfect 3D embroidered leaves as your options are endless.
P.S. If you want to create different 3d embroidered projects, browse through our giant collection of machine-friendly embroidery designs & don’t forget to learn the secrets, tips & tricks behind the most popular embroidery techniques and have fun doing it with our new & improved Fun Effects Embroidery Course.
Happy stitching!


Leave A Comment